-(1).jpg)

Mobile Mastery: Transforming Work Habits with 8 iOS Productivity Techniques
🕤 07 Jan 2024 Read more

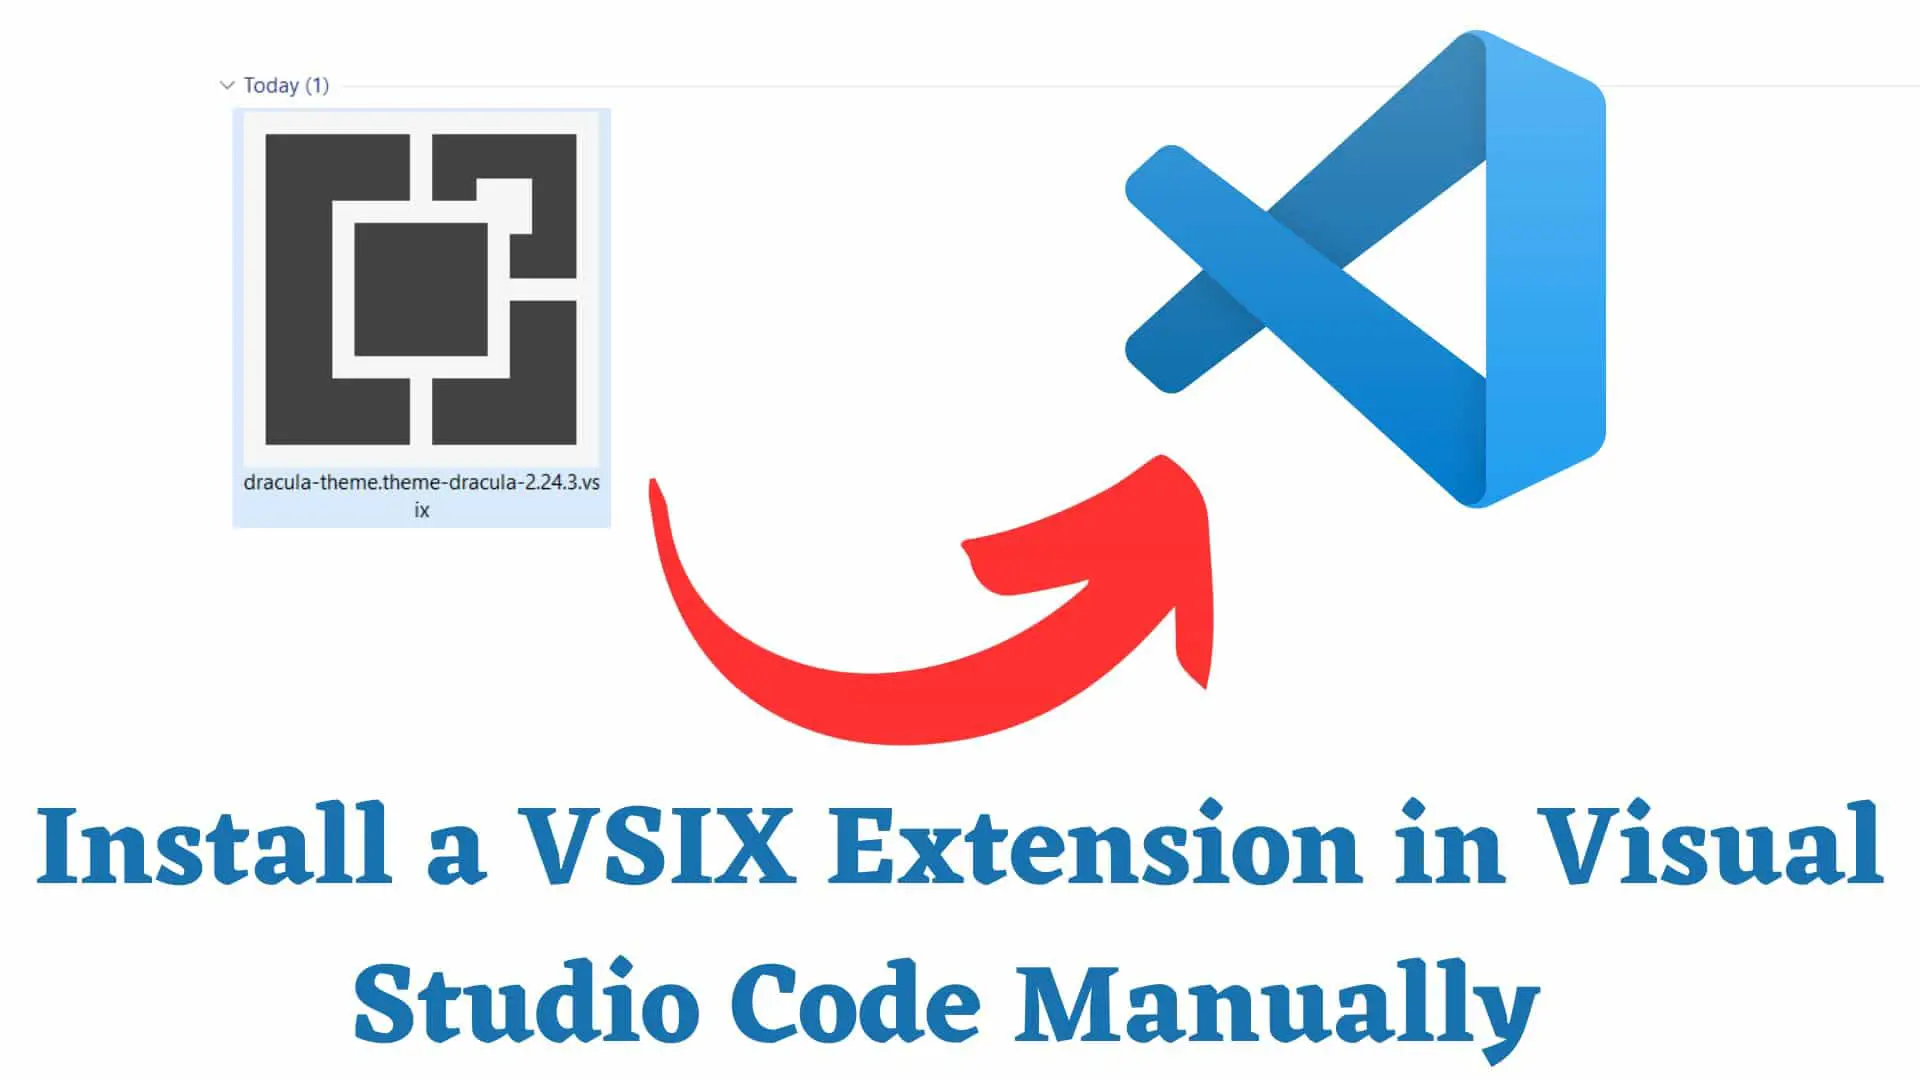
A VSIX(Visual Studio Extension) file is a Visual Studio extension package, essentially a zipped file containing an extension's code, assets, and metadata.
If someone has provided you with a VSIX extension for installation or that extension is not available in Visual Studio Code Marketplace or if you are having trouble installing an extension from the marketplace then you can manually install it using the steps shown in this article.
The steps are as follows:
You can also use the command line to install the Visual Studio Code extension manually. In this case, you do not need to open Visual Studio Code.
For this command is:
eg.
In this case, you have to open the command line in the same location where you have this extension.
If you have that extension in the Visual Studio Code market place then you can open that VSIX in the marketplace and then click on the Install button to install that extension.

.png)


.jpg)