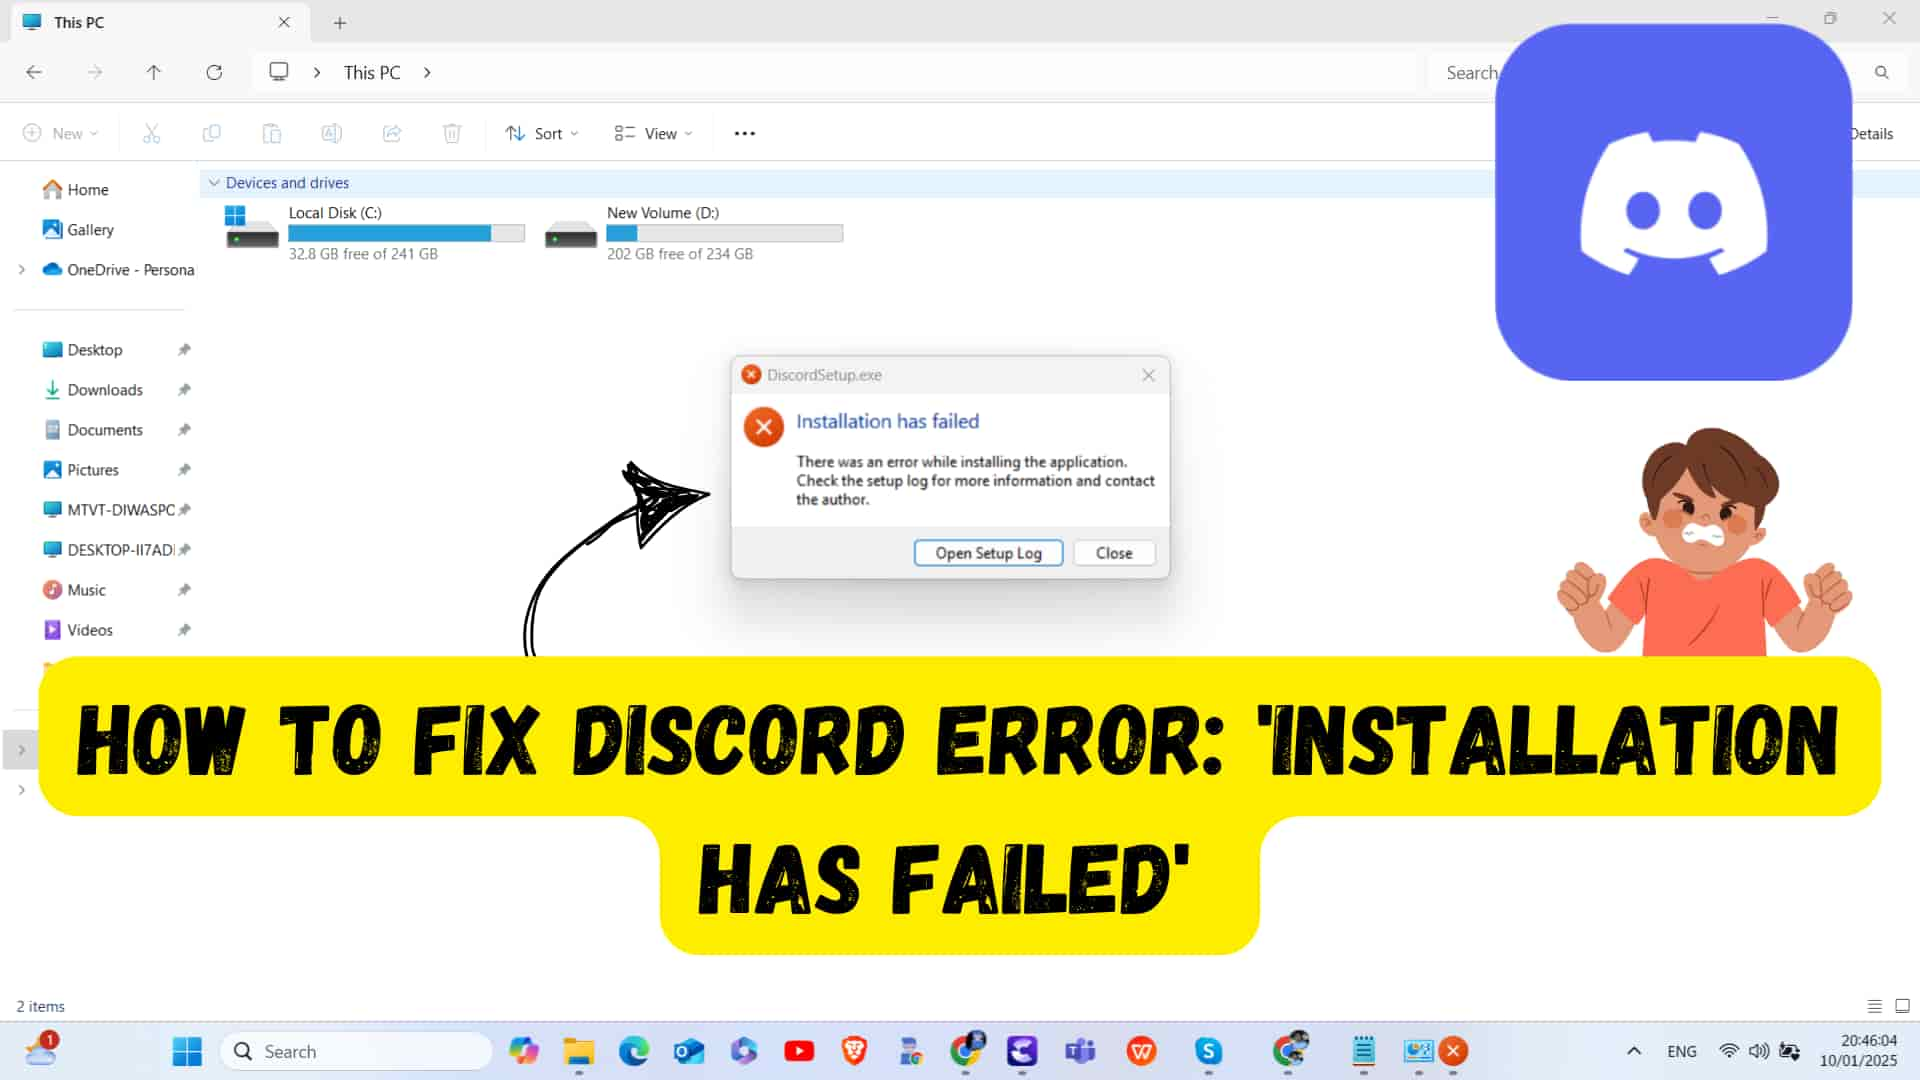
How to Fix Discord Error: 'Installation Has Failed'
🕤 11 Jan 2025 Read more

Most of the time when you install MySQL workbench then MYSQL Server will not get installed automatically with it. And then you will install workbench and MySQL separately. In windows, it seems to be a complicated process and so this tutorial I will guide you a lightweight method to install both MySQL workbench and MYSQL Server in one go.
What is Mysql workbench?
Mysql workbench is just a management tool and IDE(Integrated Development Environment) which helps developers to visually design schema, table, database, and run queries in the MySQL database. It has a user-friendly GUI interface instead of a command-line interface. Note that it is not an MYSQL Server engine.phpMyAdmin is also one of the IDE for visually managing the Mysql Database. Also, note that: Unless you have MySql Server installs in your machine, there is no use of Mysql Workbench.
What is a MySQL database server?
Mysql is the most popular and widely used open-source relational database management system. It is the MySQL Server engine.
Now, let go step by step process of downloading, installing, and setting up MySQL(Workbench and Mysql) in one go.
Step 1 )
This is all in one installer link.

Step 2)
Then you will get navigate to the following screen:

Here we have two options.
Click on the first download option is just a normal installer that accesses the internet for completely downloading Mysql Installer.
Step 3)
Then you will get navigate to log in or signup page:

Just click on "No thanks, just start my download" links as shown above. Then mysql installer will start downloading.
Step 4)
Then click on the installer file you have just download. Windows OS may give you security warning, so just click on "Yes"

Step 5)
Then it may ask you to accept a license. So, just click on it and click next.
Step 6)
Then in the next window, it will give the option to how to install MySQL.
There is three option Developer Default, Server Only, Client Only, Full, and Custom.
Here, I will go with Custom to just install MySQL server and workbench. By going through this step we will just install needed things only.

Step 7)
Here you will get below screen.
Just follow the instruction present in gif as below:

Then click on the Next button
Step 8 )
Then you will get a screen as shown below.
Here it will show what you have selected in the previous screen and then click on execute. After that, it will start downloading those two exe files only.

Step 9)
After clicking on the execute button those two files get downloaded. For this, you will require the internet. Then successfully downloaded click on the next button as shown below.

Step 10)
Again click next.

Step 11)
Click on the "Standalone MySQL Server/Classic MySQL Replication" radio button since we just want individual MySQL server and we do not need clustering. Then click Next.

Step 12)
Select "Development Computer" and Click Next.By doing this, the MySQL server will take the least amount of memory of the computer system while it is running.

Step 13)
Now, this step is new in MySQL version 8 and you may not find in an older version of MySQL.It's saying from MySQL version 8 will support SHA256 hashing. Click on the Next button.

Step 14)
Here, set up the root password for the MySQL server, and using that password, the root user can access anything from the server. So just give any password and repeat in the password in next field and click on ok

Step 15)
Click on "Execute" for applying the configuration.

Step 16)
Click on Finish.

Step 17
Click Next
Step 18
Click Finish
Then MySQL workbench will open as shown below.
Then double click on as shown in the red rectangle as shown below

Step 19)
Then a popup will appear. Their type password that you have set in step 14) and click Ok.
Now your SQL workbench is ready and then you can import database and execute the query.

If you have any problem, feel free to comment below.
Happy Coding!


.png)