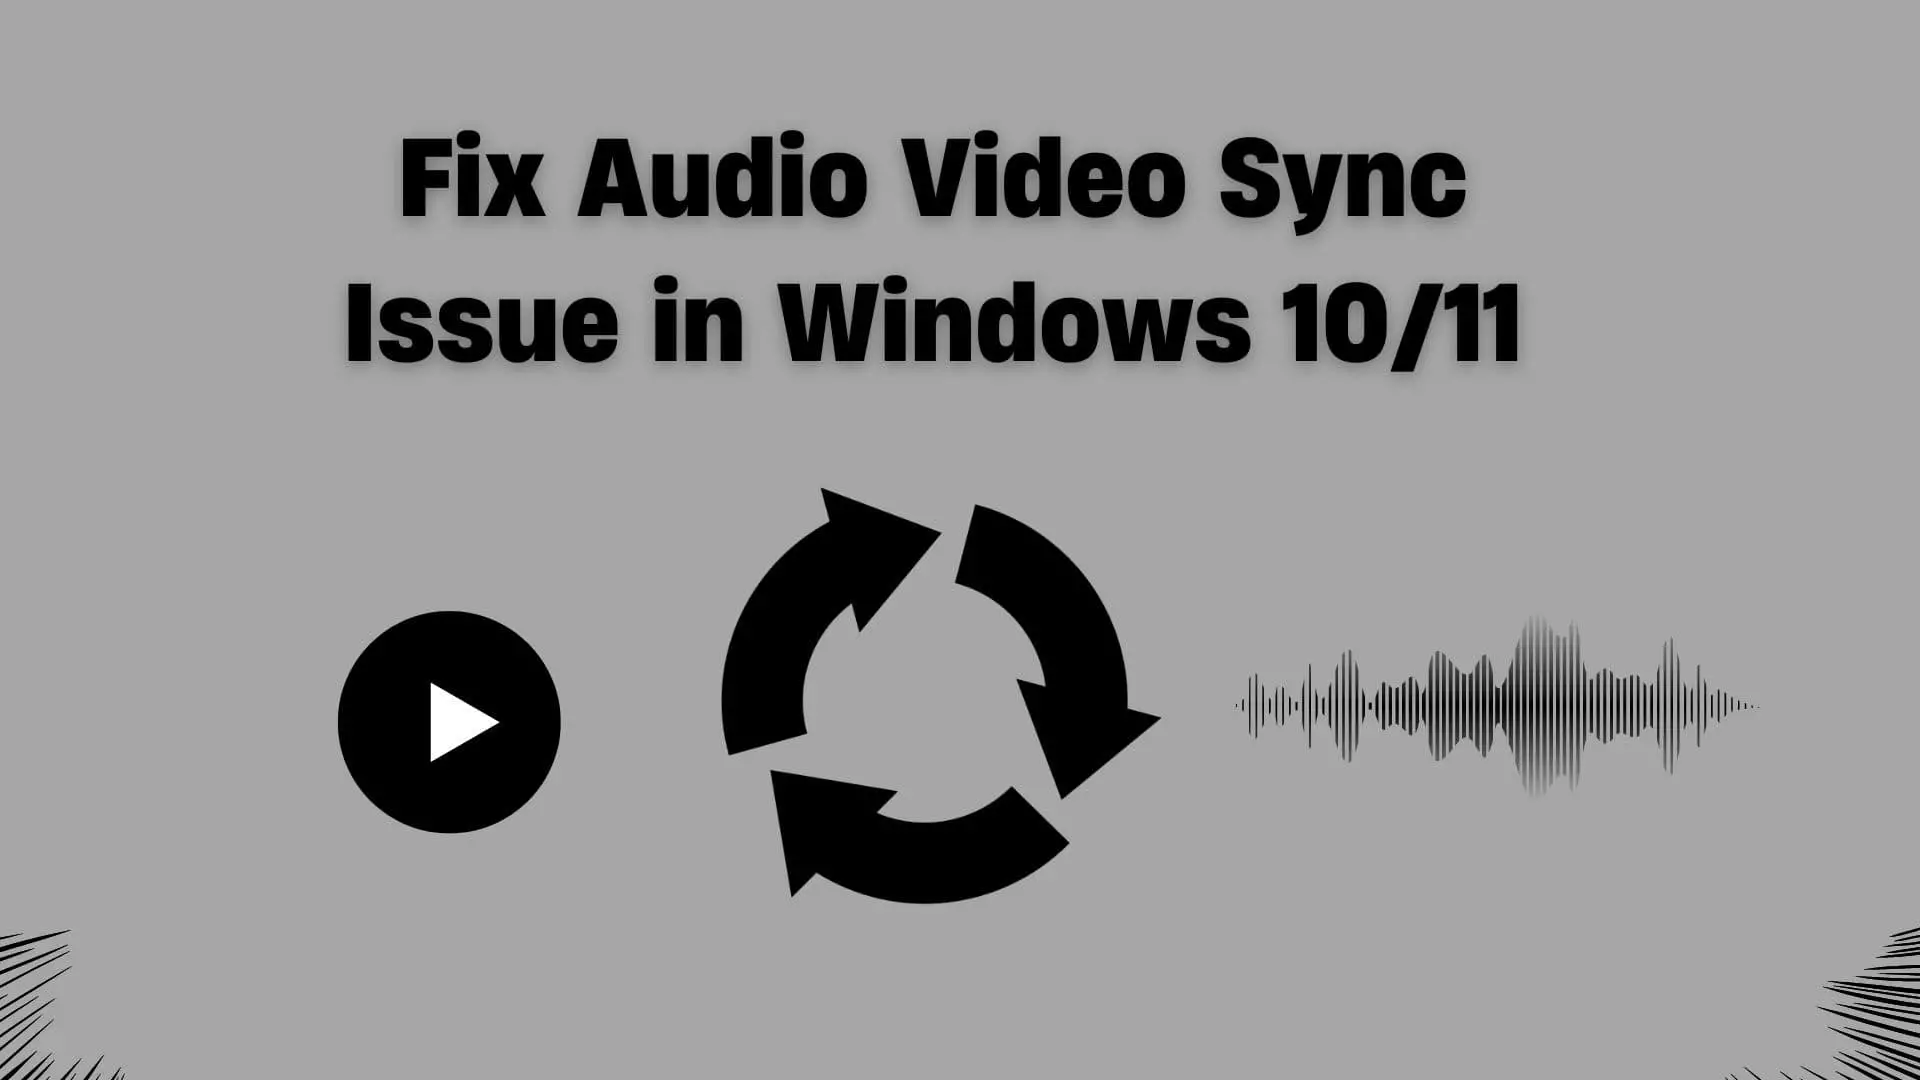
In order to offer the best quality, there should be proper synchronization between audio and video data.
But sometimes when you are making the video or bringing a video file from someone or playing a streaming video on your computer, you might run into the problem where the audio does not match up with the scene that is being shown on the screen. Sometimes video leads the audio, and sometimes audio. If this happens then you are having an Audio Video Sync Issue in your Windows 10/11 Computer.
You may experience such audio and video sync problems on your computer while you are viewing a video and you are frustrated about it then you are in right place. Ourtechroom will try to fix Video Audio Sync Problem in Windows 10/11
Some of the common causes of the Audio Video Sync problems in Windows systems are as follows.
1 Your computer audio and video driver might be old.
2 You might have made some changes in the sound settings of your computer.
3 You might have made changes in monitor settings.
4 Issue in updates
5 Audio Video Codecs Problem
6 Corrupted Video Files
7 Playing video with a corrupted media player
8 Editing video with corrupted and untrusted video editor.
Solving Audio Video Sync Problem in Windows 10 / 11
Experts suggest doing the following things on your windows computer for solving Audio Video Sync Problem.
1 Restart the App
Some software may have issues after a while of use. Later, when you play the video on it, you may encounter a sync problem because unnecessary items may be loaded into the system, causing the problem. So, give it a shot by restarting the software.
Check the audio/video sync issue if not solved move to the next steps.
2 Restart your computer
If your computer hasn't been restarted in a while, you should give it a shot by restarting it. Restarting the computer removes the current state of the software in memory, as well as any code that is stuck in a misbehaving state running in the background, resulting in a fresh version of the software.
Check the audio/video sync issue if not solved move to the next steps.
3 Check for Software Updates
If you are experiencing problems while watching the video, there may be issues that have been addressed in recent updates. Check to see if there are any updates available for the software.
Check the audio/video sync issue if not solved move to the next steps.
4 Check for Windows Updates
It is highly recommended to update the Windows Operating System before doing anything else. There is always the possibility that your Windows Operating System could have a problem that was fixed in the most recent update. If this is the case, you will want to make sure that you have the most recent update installed.
Windows 11:
4.1 Click on the Search icon on the taskbar
4.2 Search for "Windows Update"
4.3. Click on "Windows Update Settings"
fig. windows update settings in windows11
4.4 Click on Windows Update from the bottom left of the list.
4.5. Then under Updates available to install click on Install all bottom and follow up the instruction.
fig. Install all updates to Windows 11
Windows 10:
Select the Start button, and thengo to Settings > Update & Security > Windows Update > Click on Check for Updates.
If there is an available update, it will begin downloading automatically.
fig. Windows 10 Updates
Check the audio/video sync issue if not solved move to the next steps.
5 Update Audio Driver
Not only did it fix the sync issue that you were having, but it also removed the sound, stopped the crackling sound, improved performance, and added new features. It is recommended that you update your audio driver because having audio and video drivers that are too old can result in various issues.
Steps:
5.1 Press Win + R from the keyboard and type devmgmt.msc and press Enter. This will open Device Manager Windows.
fig. Open Device Manager from Run Box
5.2. Under Sound, video, and Game Controller. You will get the list of Audio devices.
5.3 Right-click on the first item. In my case Intel Smart Sound Technology
5.4 Click on Update Driver
fig. search automatically for driver updates
5.5. Click on Search automatically for drivers. Here windows will search for the best driver available and install it on your computer.
Repeats it for other items in the list and do it for allow.
5.6 Also updates Items under Audio inputs and outputs.
fig. updates audio inputs and outputs
5.7 Also updates Webcam Under Cameras.
fig. updates webcam if available
Check the audio/video sync issue if not solved move to the next steps.
6 Troubleshoot your Windows Computer
You can troubleshoot your computer audio and video properties with the following steps.
6.1 Click on the Search icon on the taskbar
6.2 Search for "Troubleshoot "
6.3. Click on "Troubleshoot Settings"
fig. troubleshoot settings
6.4 Click on the greater arrow (>) under Other troubleshooters.
fig. other-troubleshooters-in-windows
6.5 Click on Audio and Video-related options and click on Run. Then windows automatically scan for the problem and try to fix it if it exists.
fig. run-troubleshoot-for-audio-and-video
7 Set Software to use High-Performance Graphics
These are the Windows 11 and 10 settings that enable the application to make full use of the system's capabilities. Windows 11 will, by default, automatically select the application that will use the best performance; however, you have the ability to make adjustments by assigning applications a higher performance priority.
If you are making a video using Filmora then you will occasionally find that Filmora occasionally has performance issues and lags in audio and video sync. If you are playing the video with Filmora, you can set it to high performance to Filmora. The steps are as follows:
7.1 Click on the Search icon on the taskbar
7.2 Search for Graphic Settings
7.3 Click on Graphics Settings
fig. Graphics Settings
7.4 Search for Software you want to set high performance. In my case Filmora. So, I will search for Filmora.
7.5 Click on Software from the List and then click on Options. In my case: Filmora.
fig. Select Application and click on Options
7.6 Next Checked on High Performance.
fig. High performance for the application
7.7 Click on the Save button.
You can do it for VLC if there is a sync issue with VLC.
Check the audio/video sync issue if not solved move to the next steps.
8 Check Windows Recording and Playback Settings
In Windows 10 and 11, you will find Audio Enhancement is ON by default. And if want to have to remove audio issues with your windows the system then disables it.
8.1 Goto run and type control and press Enter. This will open the Control panel.
8.2 Click on Hardware and Sounds.
fig. hardware and sound options in the control panel
8.3 Then select Sound from the list.
fig. Click on Sound options
8.4 On the next screen click on Recording Tab. Then Select your recording device and then click the Properties button.
fig. recording tabs in sound properties
8.5 Deselect Enable audio enhancements on the Advanced tab and click Apply.
fig. uncheck enable audio enhancements checkbox
8.6 Again come back to step 7.2 and then click on the Playback tab.
fig. playback sound properties
8.7 Select your playback device and then click the Properties button.
8.8 Deselect Enable audio enhancements on the Advanced tab and click Apply.
Check the audio/video sync issue if not solved move to the next steps.
9 Changing Exclusive Mode and Default Sample Rate
You can change the speaker properties like Exclusive Mode, Default Sample Rate, etc. This setting might solve your problem related to Sync.
9.1 Goto run and type control and press Enter. This will open the Control panel.
9.2 Click on Hardware and Sounds.
9.3 Then select Sound from the list. On the next screen click on Recording Tab.
9.4 Select your recording device and then click the Properties button.
9.5 Goto Advanced tab and then Deselect Allow applications to take exclusive control of this device. and Give exclusive mode applications priority under Exclusive Mode.
9.6 On the same screen try to change Default Format from DVD format(16-bit, 48000Hz) to CD format(16-bit,44100Hz) and click on Apply. Also try changing from CD to DVD quality and try again.
fig. default format and exclusive mode in windows
Note: Higher the Hz range, the more frequency ranges you are able to hear with clarity and precision.
9.7 Again come back to step 8.2 and then click on the Playback tab.
9.8 Select your playback device and then click the Properties button.
9.9 Goto Advanced tab and then Deselect Allow applications to take exclusive control of this device. and Give exclusive mode applications priority under Exclusive Mode.
9.10 On the same screen try to change Default Format to CD format(16-bit,44100Hz) or DVD format(16-bit, 48000Hz) and click on Apply.
Check the audio/video sync issue if not solved move to the next steps.
10 Use appropriate and virus-free audio/video codecs.
Both incompatible codecs and damaged files have the potential to cause an audio delay while playing. As a direct result of this, the media player is unable to correctly read the file information or calculate the time length of the corrupted portion. You can either fix the audio sync error by changing the video and audio codec so that it is compatible with each other or by cutting off the broken segment.
It's possible that the problem lies within the media player itself, or it could be an infection brought on by the application. Therefore, the first thing you can do when you are unable to play a video due to an unsupported audio codec is to switch the media player or use a different device to play the video. In the event that none of these workarounds are successful, you can alter the settings of both the Windows Media Player and the VLC Player to automatically download the appropriate codecs.
If this does not work try using the software Wondershare Repair to fix the problem.
Check the audio/video sync issue if not solved move to the next steps.
11 Graphics Driver Updates
It is found that sometimes when you upgrade your operating system from Windows 10 to Windows you found the problem in sync of audio and video. If so you can try updating your graphic card. One of my friends was having a similar problem and he solved it by updating his Nvidia graphics card.
Steps for Updating Graphics Driver
11.1 Enter devmgmt.msc in the Run box to launch Device Manager.
11.2 Expand Display Adapters.
11.3 Select the item from the list and right-click on it and click on Update Driver
11.4 Select Search automatically for a driver if you want Windows to choose the best driver version available. However, if you have the most recent driver installed on your computer, select Browser my computer for drivers and select the driver from your computer.
In this way, you can update your graphics driver on your Windows 10/11 computer.
Check the audio/video sync issue if not solved move to the next steps.
12 Change Power Plan Settings
You can change the following power plan and this may solve the sync problems with audio and video.
12.1 Click on the Search icon on the taskbar
12.2 Search for Edit Power Plan
12.3 Click on Edit Power Plan
fig. Edit Power Plan
12.4 Then, select the Change advanced power settings option.
fig. change-advanced-power-settings
12.5 Find and expand Processor power management in the Power Options dialog box. Next, expand the Minimum processor state and increase the Plugged percent from 5% to 100%.
fig. plugging-in-percent-to-hundred
12.6 Click Apply and then OK.
13 Using unreliable Third-party applications for video edit
When you use an untrustworthy application for video editing, you may encounter a syncing problem between video and audio. It is also risky to use untrustworthy software from a security standpoint. Always use reputable video editing software such as VideoProc Vlogger, Camtasia, Filmora, Adobe Premiere Pro, Da Vinci Resolve, and others.
Check the audio/video sync issue if not solved move to the next steps.
14Disable HPET In BIOS
In order to synchronize the playback of multimedia files and provide a smoother experience, HPET is utilized. You can disable HPET in Windows 10 and 11 if you experience game lags, audio/video sync lags, or FPS drops and sluttering, and if this causes a delay of approximately 0.1 to 0.15 milliseconds or more, respectively.
Let's disable HPET in BIOS:
1 Open Command prompt with admin privileged.
2 Then type the following and press Enter
bcdedit /deletevalue useplatformclock
3 Again type the following and press Enter.
bcdedit /set disabledynamictick yes
4 Restart the PC.
Check the audio/video sync issue if not solved move to the next steps.
From point 13 to point 20, the audio and video problems are contained within the browser and internet connection.
15 Check Internet Collection
To begin, go to speedtest.net and test your internet connection. If you have a fast and consistent internet connection, then internet connection is not a problem for video audio sync in the browser.
16 Troubleshoot the Browser.
Some browsers include a troubleshooting feature somewhere within the browser itself. If there was found to be a problem, including one related to the audio and video sync, then you should try to troubleshoot the browser, and if there was a problem, the browser will notify you of it.
If you are using Firefox, you can use the troubleshoot option.
Let's try troubleshooting in Firefox.
16.1 Click on the three dots in the upper right corner.
16.2 At the bottom of the list, select the Help option.
16.3 Select Troubleshoot Mode. Then Firefox will begin troubleshooting.
16.4 When prompted by a dialog box, click the Restart button.
17 Increase SessionTime Interval value
Youtube may occasionally experience minor audio-video sync issues. Firefox has a feature called SessionStore, which by default sets the session to every 15 seconds. Try increasing it to 100 seconds. Close and reopen the browser. Also, try opening YouTube to see the effect. If you still have a problem then revert the setting to default.
Steps for setting Time for Session
17.1 Open Firefox Browser.
17.2 In the search bar at the top type: about:config and press Enter.
17.3 When prompted, select the check box next to Accept the Risk, and then click the Continue button.
17.4 In the next screen type: browser.sessionstore.interval in the search bar.
17.5 Then under browser.sessionstore.interval change the value to 100000. This means 100 seconds.
18 Disable Hardware Acceleration in the browser
When you play videos or games in Chrome, or do anything else that requires faster mathematical calculations, hardware acceleration will utilize your computer's graphics processing unit (GPU) to make the process go more quickly.
Chrome may lag on some devices when enabled, and you may be forced to disable it to resolve the lag issue.
Steps to disable hardware acceleration in Chrome Browser.
In the top-right corner of your browser, click the three dots.
Then select "Settings."fig. settings in chrome extension
At the very bottom of your Chrome settings window, look for the "Advanced" button, and then click on the System button.
Toggle ‘Use hardware acceleration when available’ from on to off.
When you're done, click the "Relaunch" button to apply the changes.
fig. disable hardware acceleration when available
19 Clear Browser Cache
Every popular browser has a cache feature and you can clear them and this may solve your sync audio video problem.
In Chrome Browser Steps are as follows:
Launch Chrome on your computer.
Click 3 dots in the upper right corner.
Click More tools, then click on Clear browsing data.fig. clearing browsing data settings in chrome
Select a time range at the top. Select All time to delete everything.
Check the boxes next to "Cookies and other site data" and "Cached images and files."
Click the Clear Data button in the cookies and Site Data section
With Cached Web Content check marked, click the Clear button.
Close the page about:preferences. Any changes you've made will be saved automatically.
20 Restart the Browser
Sometimes a browser will use up a lot of memory, which can result in a variety of issues. There is a possibility that you will experience issues with the audio and video of streaming and other videos on YouTube at some point. Therefore, reopening the streaming video and any other videos on YouTube after restarting the browser might be enough to fix the sync issue.
21 Try Changing Web Browser
If you are experiencing lag between the video and the audio while using one browser to open streaming or YouTube videos, then you should try switching to a different browser. In the event that you are having problems with Firefox, you could try switching to another web browser such as Google Chrome, Opera, or Brave.
22 Check Streaming Services
Streaming Services like Youtube, Netflix, and Amazon Prime have a lot of things happening behind the scenes, and if some of the services that are interlinked fail, it could cause sync problems. You have no choice but to wait until the streaming services fix the problem, as this is the only thing you can do.
23 Revert to Previous Version
If you find Software working in the previous version and non of the above methods are working then revert the software to the previous version.
Conclusion
You can check all the steps and apply the setting on your Windows 10 or Windows 11 device in this manner in order to resolve sync audio video issues.


-(1).jpg)


.png)


.jpg)